Installation Guide
This section provides a step-by-step installation process to help you quickly complete the installation of Agent for LabVIEW in LabVIEW.
Pre-Installation Checklist (5 minutes)
Before starting, please confirm the following:
Operating System: Windows 10/11
LabVIEW: 2018 or higher version
VIPM: 2021 or higher version recommended
Network: Able to access model service provider APIs (required for initial configuration)
Optional components:
AI Vision Toolkit for GPU/AI Vision Toolkit for OpenVINO (if you wish to complete text-to-image, image-to-image, image fusion, and image understanding), download: https://www.virobotics.net/product_AIVT_GPU
Python (only needed when running Python code generated by the Agent)
C++ (only needed when running C++ code generated by the Agent)
Version Selection (32-bit / 64-bit)
Please confirm your LabVIEW architecture first, then download the corresponding installation package:
64-bit LabVIEW -> Install 64-bit Agent package
32-bit LabVIEW -> Install 32-bit Agent package
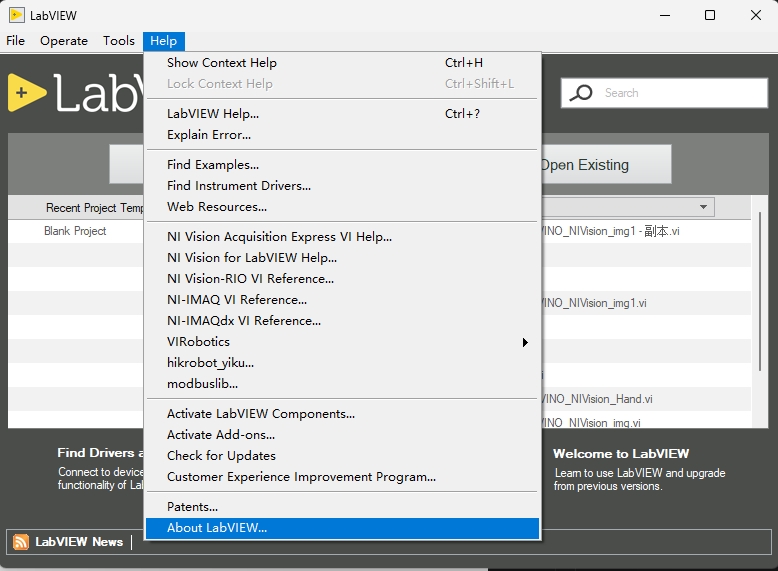
How to check:
Open LabVIEW
Click
Help->About LabVIEWCheck the 32-bit / 64-bit indicator in version information
Step 1: Download Toolkit
Open download page: https://www.virobotics.net/download
Select the installation package matching your LabVIEW bit count (32-bit or 64-bit)
Download the latest version
.vipfile to local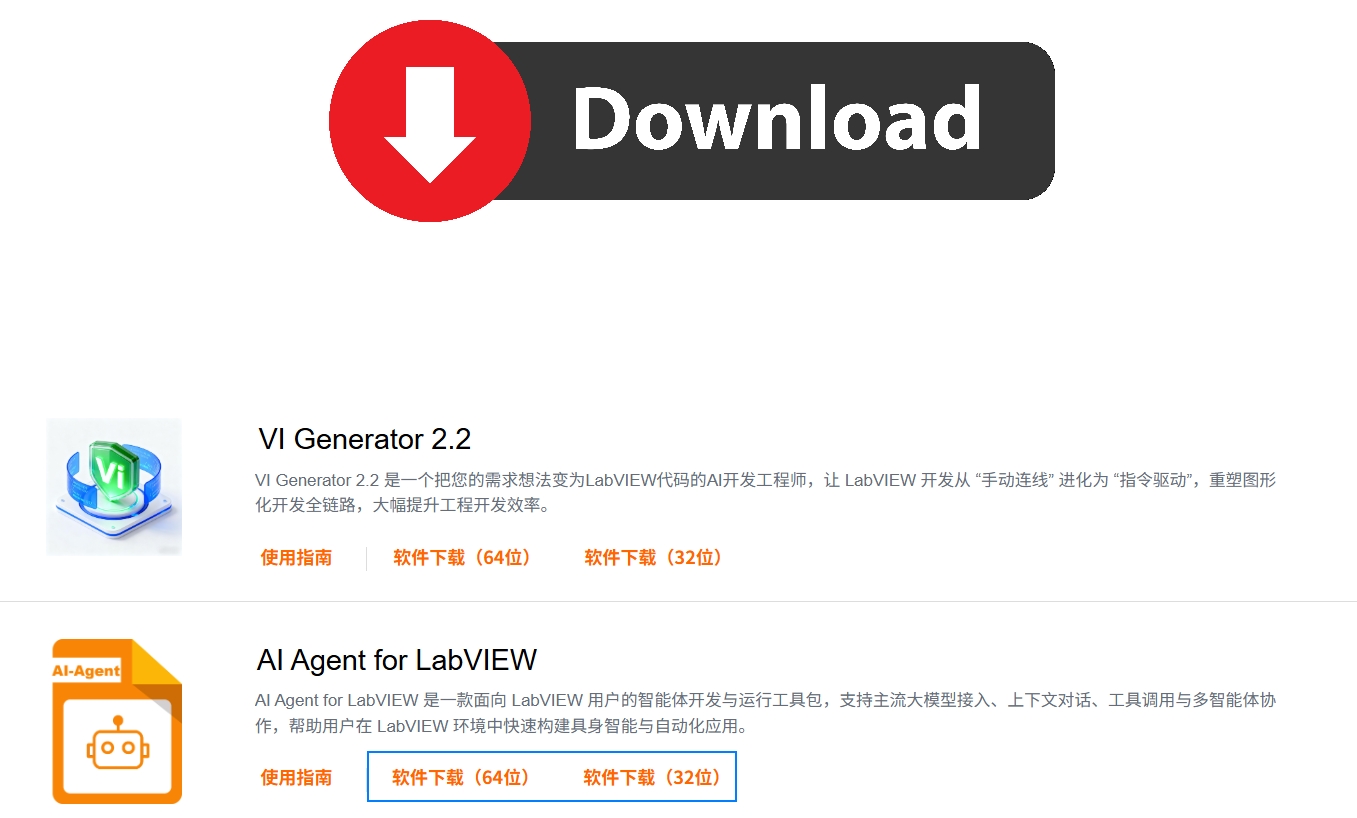
Step 2: Install Using VIPM
Close LabVIEW
Start VIPM as administrator
Choose one of two installation methods:
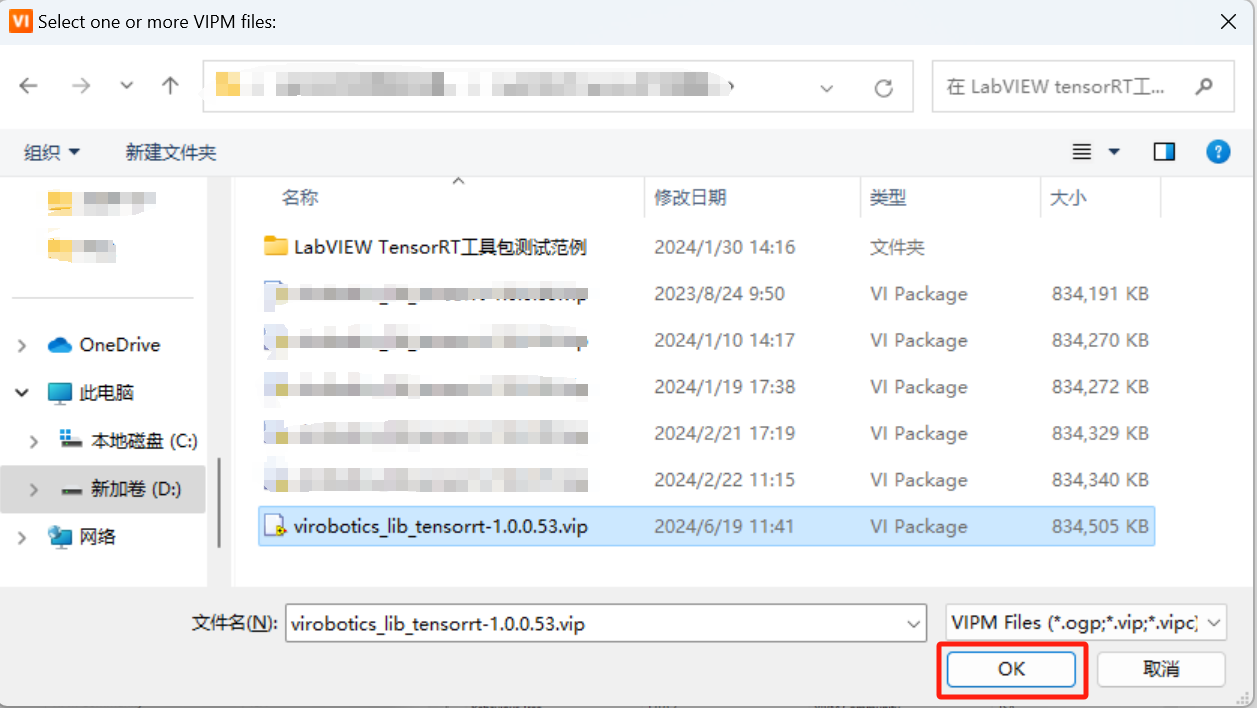
Double-click the
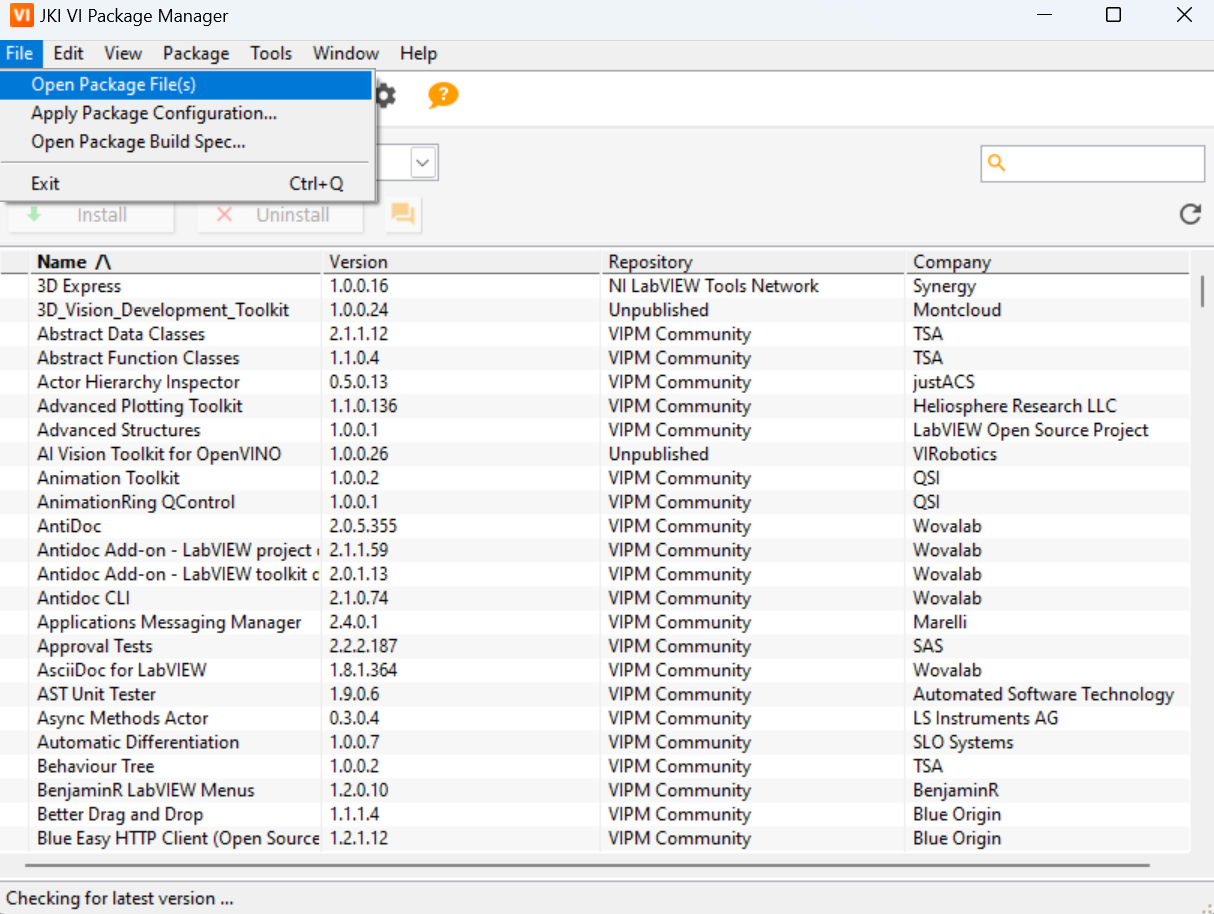
.vipfile directlyIn VIPM, click
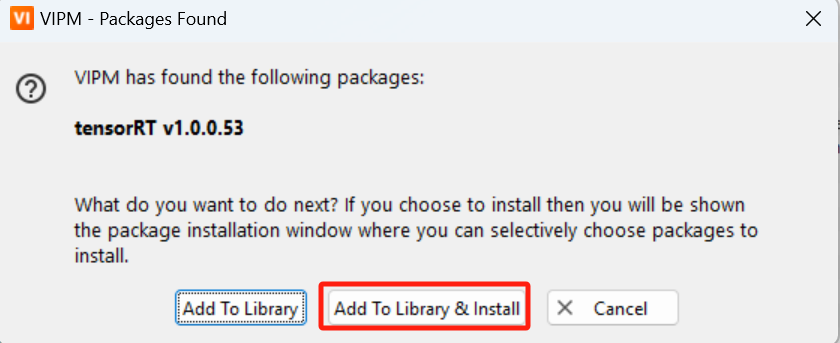
File->Open Package, then clickAdd To Library & Install
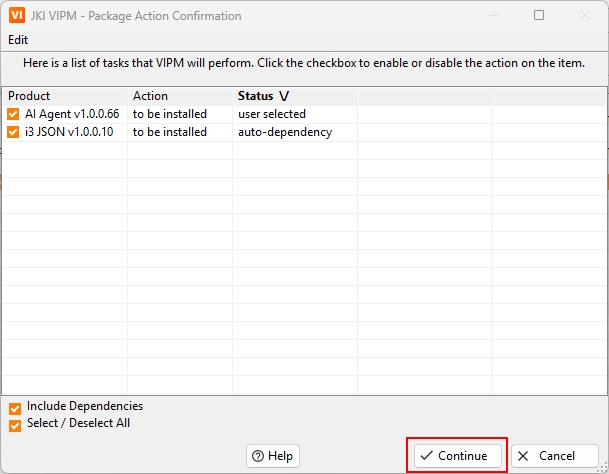
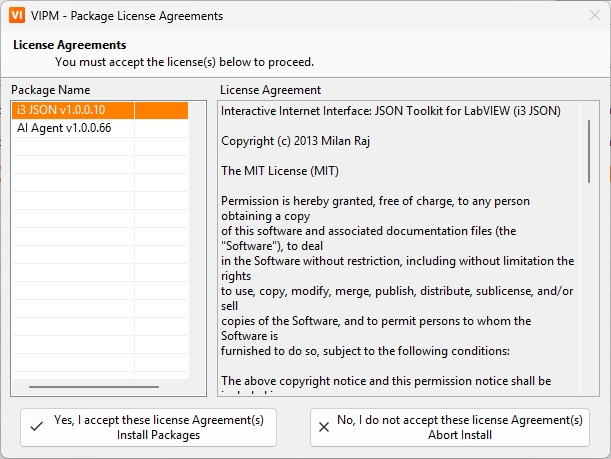
Accept the license agreement (please note this includes i3.json) and continue
Wait for installation to complete and confirm status is
No ErrorsClick
Finish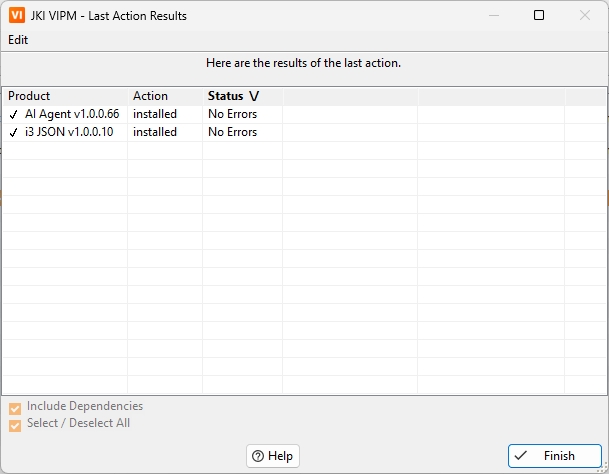
Step 3: Post-Installation Verification (Required)
Open the Block Diagram
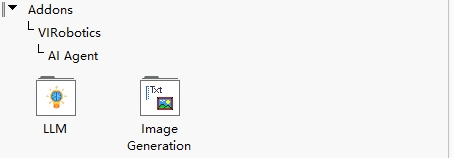
Right-click the function palette and navigate:
Functions -> Addons -> VIRobotics -> AI AgentIf you can see the corresponding functions, the installation was successful
Next Steps: Activation and API Configuration
After installation, please continue reading and completing:
After completing this section, run examples for end-to-end verification.
Common Errors and Handling
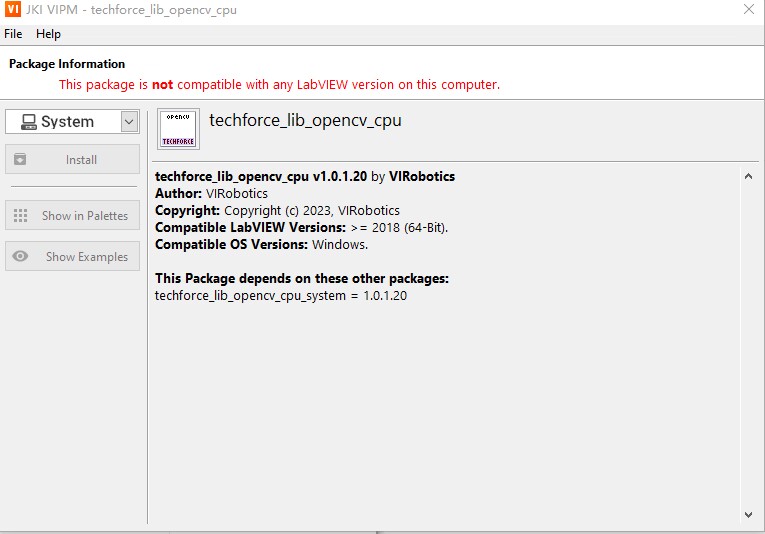
1) Error: This package is not compatible with any LabVIEW version on this computer
Troubleshooting order:
Confirm installation package bit count matches LabVIEW bit count (32 for 32, 64 for 64)
Confirm LabVIEW version >= 2018
Upgrade VIPM to 2021 or above
Retry running VIPM as administrator
2) Cannot double-click .vip for automatic installation
Handling:
Start VIPM as administrator
Manually open
.vipthroughFile->Open PackageClick
Add To Library & Install
3) Error: Missing VCRUNTIME140.dll
Handling:
Download and install VC++ Runtime:
https://aka.ms/vs/17/release/vc_redist.x64.exeAfter installation, restart VIPM / LabVIEW
Reinstall the toolkit
Technical Support
If you encounter issues during installation or configuration, please first consult FAQ, or contact if still unresolved:
Technical Support Email: support@virobotics.net
Website: https://www.virobotics.net
Service Hours: Weekdays 9:30 - 18:00
QQ Technical Group: 664108337
Release Notes
The toolkit is continuously updated. For the latest changes, please refer to Change Log or the version description in VIPM.