Project deployment and distribution
This section will guide you how to use AIVT-OV Toolkit developed LabVIEW The project is packaged as an executable file (EXE) and activated and deployed on the target computer to achieve real application delivery and offline operation.
Deployment Goals
Will LabVIEW Project compiles EXE File
Run on target device EXE Realize tasks such as model inference and image acquisition
No need to install LabVIEW Development environment with only runtime components and licenses installed
Packing EXE Procedure
1. the main application to generate an EXE
Create or open a project
Open the LabVIEW project and make sure that the VIs in it are running correctly. Note that code that involves file paths may cause errors due to path problems after being compiled to EXE. For such errors, you can refer to KB:5SD4CE7K,3HKEK93U, 2T6GI6BH, 18RDJ60O
Add VI
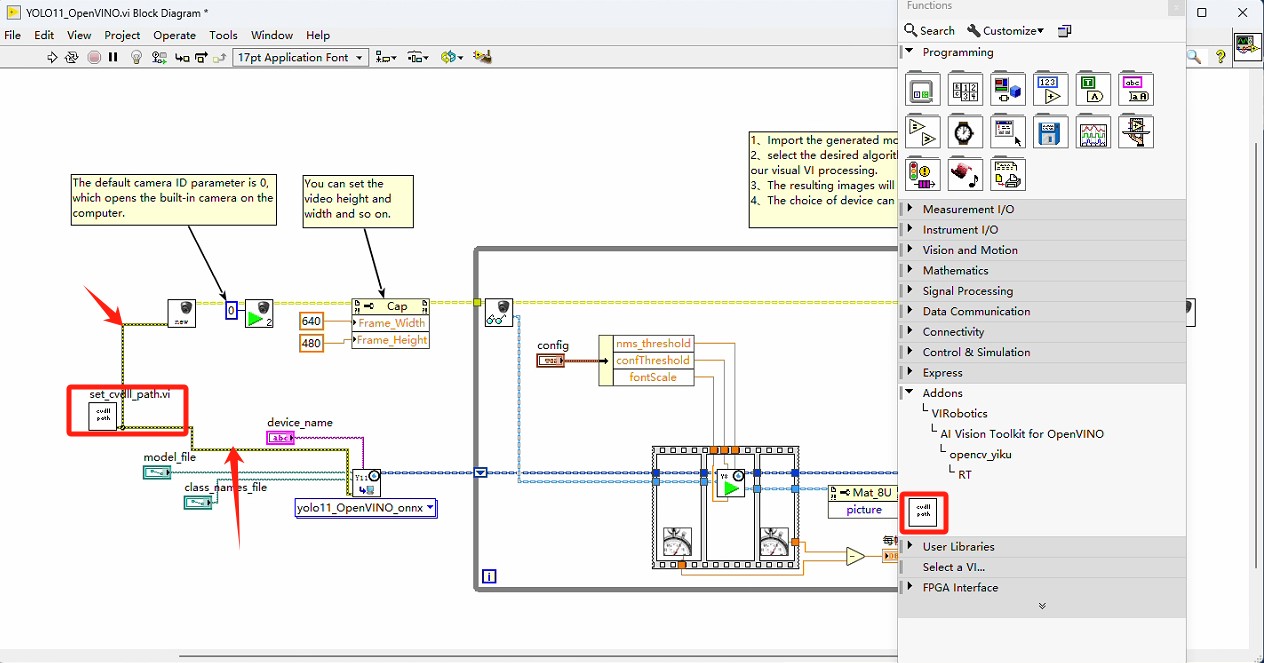
In the main program, that is, the vi that uses the functions under the opencv_yiku module, add set_cvdll_path.vi, and connect the error cluster of set_cvdll_path.vi to the functions vi under all opencv_yiku modules. This step is very important, as shown in the following figure:
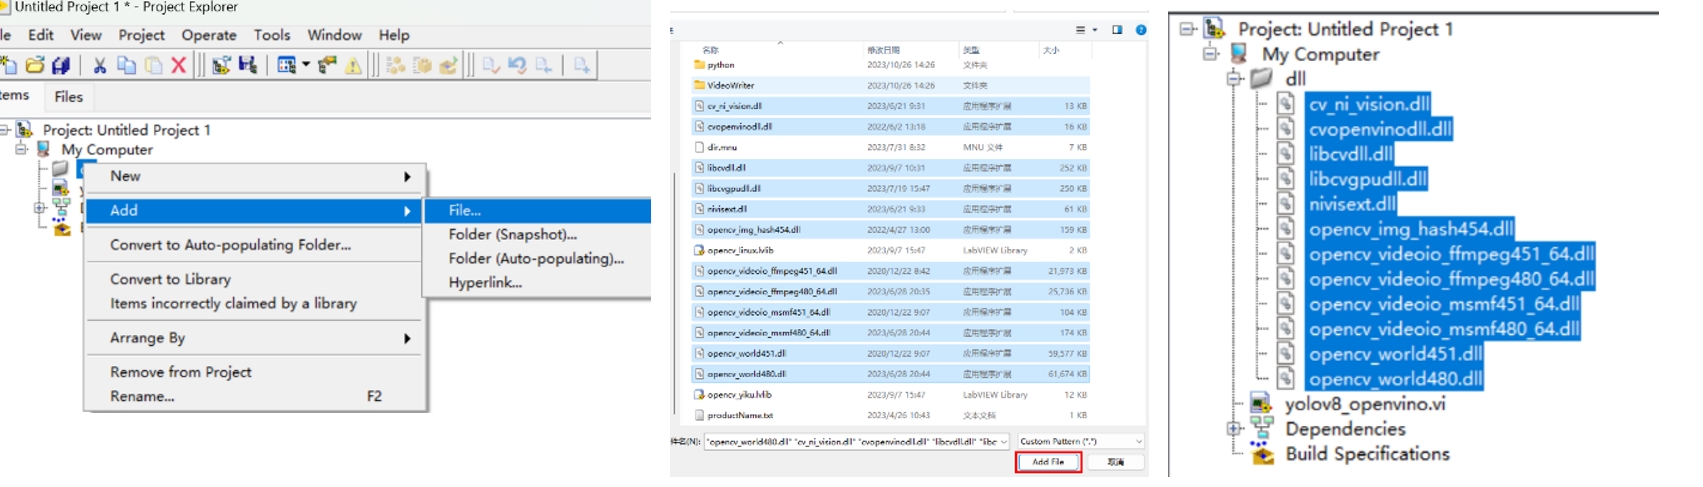
Add DLL Folder
Create a virtual folder in your project
dlland add all dLL files in the following path to the folder:\vi.lib\VIRobotics\opencv_yiku
Add Active VI
will be activated with vi:Open License Manager.vi to add to the project. The vi can be found in the example finder: Help>>Find Examples>>Directory Structure>>VIRobotics>>AI Vision>>License Management
Create an application (EXE)
In
Build SpecificationsRight-click to selectNew >> Application(EXE).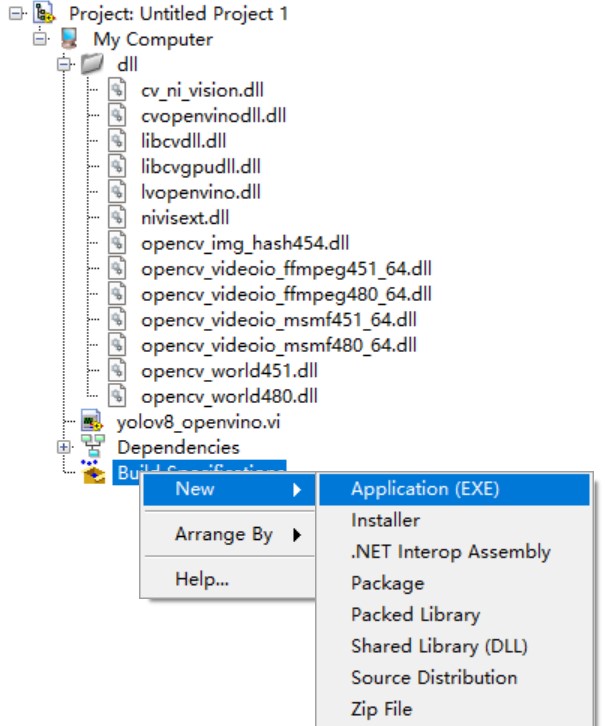
Set target file name and directory
Avoid using Chinese characters or spaces in case the generated file does not work properly.
Select Source File
Add a top-level VI
Startup VIs, other sub-VI anddllAdd foldersAlways Included.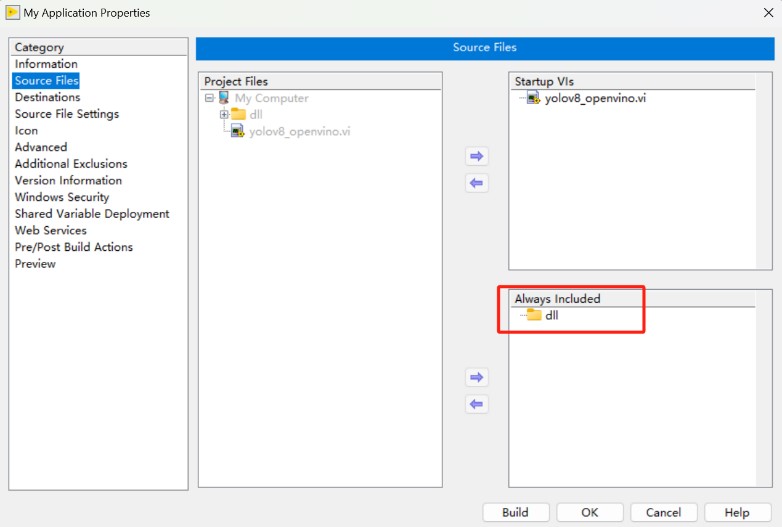
Preview and Generate
Select
Preview >> Generate PreviewConfirm the generated content, and then click "Generate" to complete the EXE creation.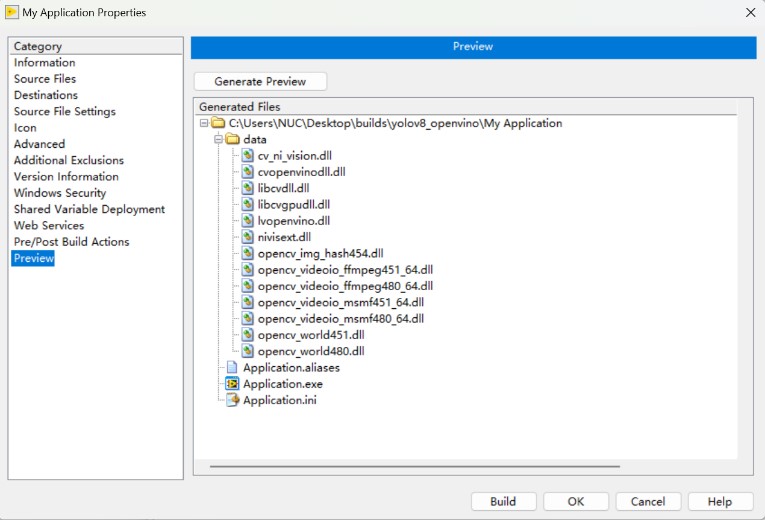
Test EXE
Run the generated EXE file on the development side to ensure that it can run normally. If there is a problem, check whether the above DLL file is completely loaded.
2. Activate Tools to Generate EXE
⚠Note that the activation tool can be activated once at the deployment end.
If you need to package the project as exe and deploy it to other terminal devices, then you need to ensure that you have packaged the activation function, please refer to example vi:Open. License Manager.vi, which can be found in the example finder: Help>>Find Examples>>Directory Structure>>VIRobotics>>AI Vision>>License Management
package the activation vi together with the project to generate an exe, or package the activation vi separately as an exe
Deployment steps
1. deployment environment requirements
| Project | Requirements |
|---|---|
| Operating System | Windows 10/11 x64 |
| Runrtime support | LabVIEW 64-bit Runtime (consistent with project version) |
| CPU | intel 6-14 generation cpu |
| Graphics support | Intel iGPU / A770 / Solo (support OpenVINO) |
2. driver preparation (one of the following methods can be selected)
Method 1: Automatic installation of the program 1. Download the automatic configuration driver, Download link: https://bj11112.apps.aliyunfile.com/disk/s/KsNmFu4wWhL 2. Decompress the entire compression package of "OpenVINO Driver Installation x.x.zip". If the development version is 2.0.0.1-2.0.0.8, install-2025-0.bat , if version 2.0.0.9 and above, install-2025-2.bat
Method two: manual installation
Path on computer will be developed
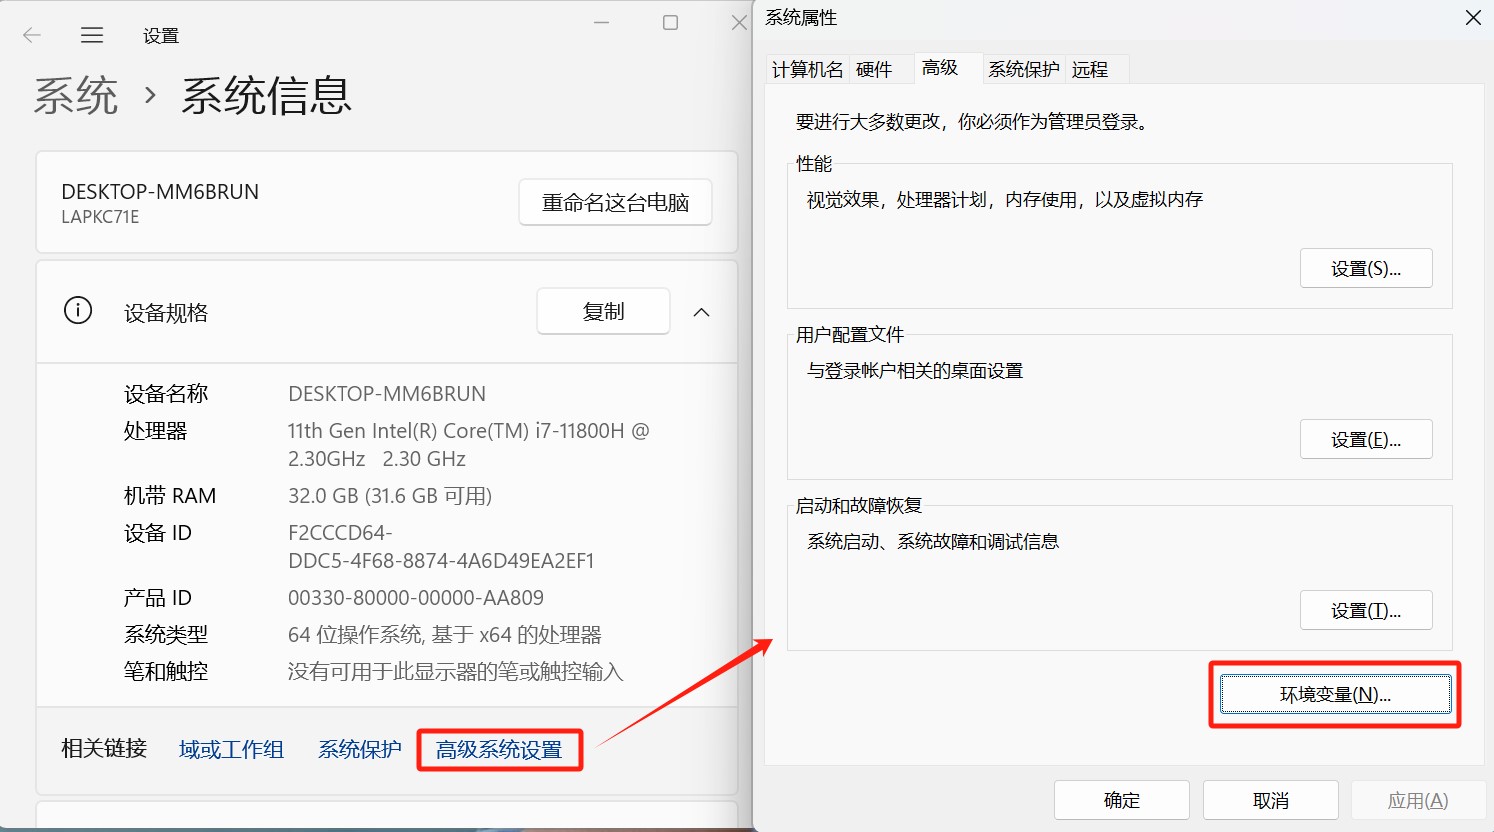
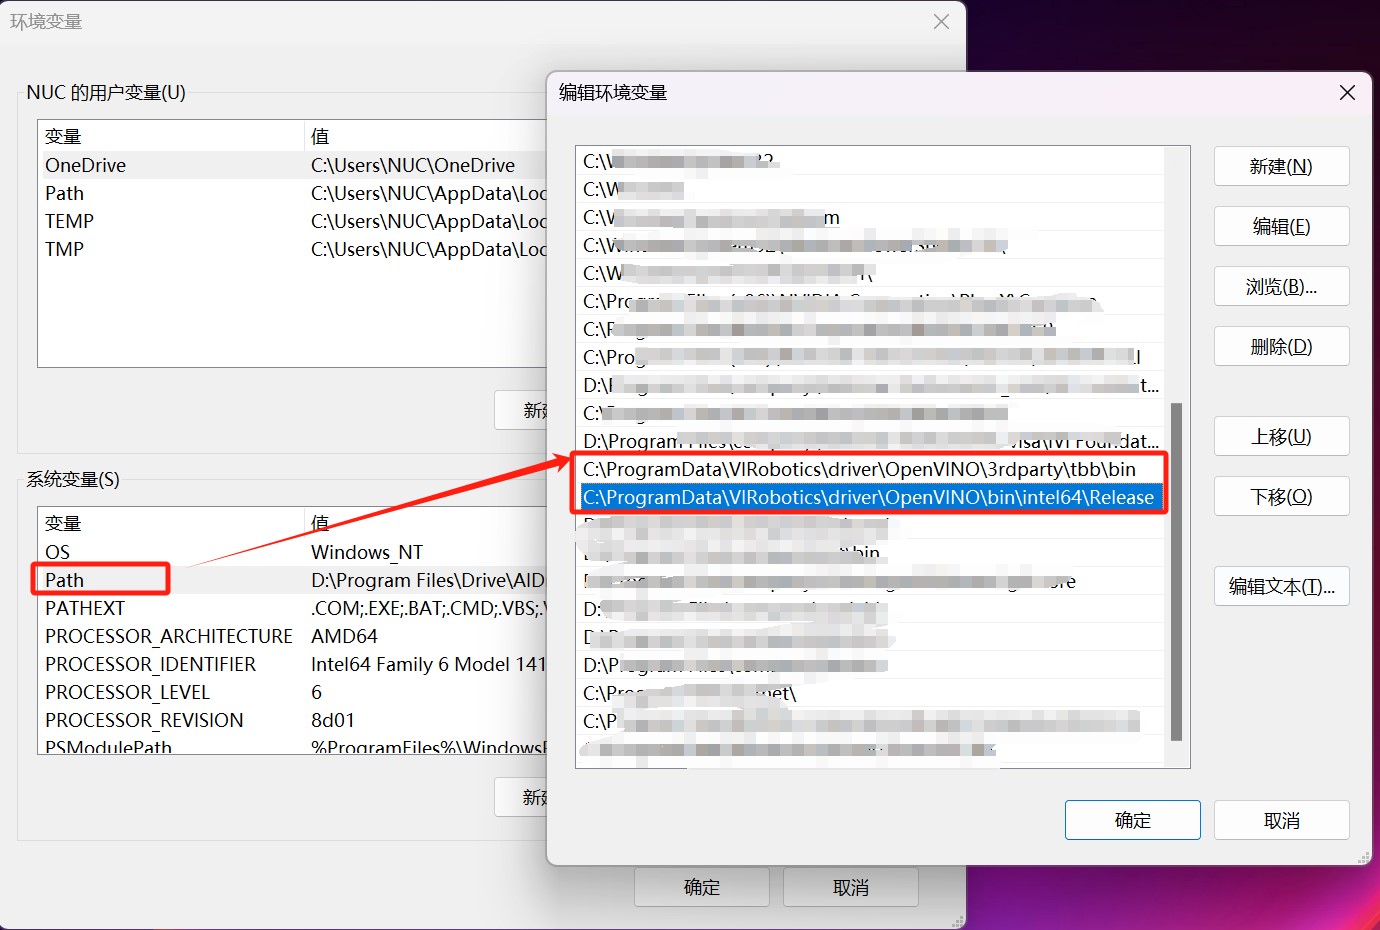
C:\ProgramData\VIRobotics\driverunderOpenVINOfolder to the non-Chinese path of the deployment computer, suchC:\ProgramData\VIRobotics\driver.Add the following path to the system environment variable:
C:\ProgramData\VIRobotics\driver\OpenVINO\bin\intel64\Release


C:\ProgramData\VIRobotics\driver\OpenVINO\3rdparty\tbb\bin
3. Deployment Side license Activation
Online Activation Process (recommend)
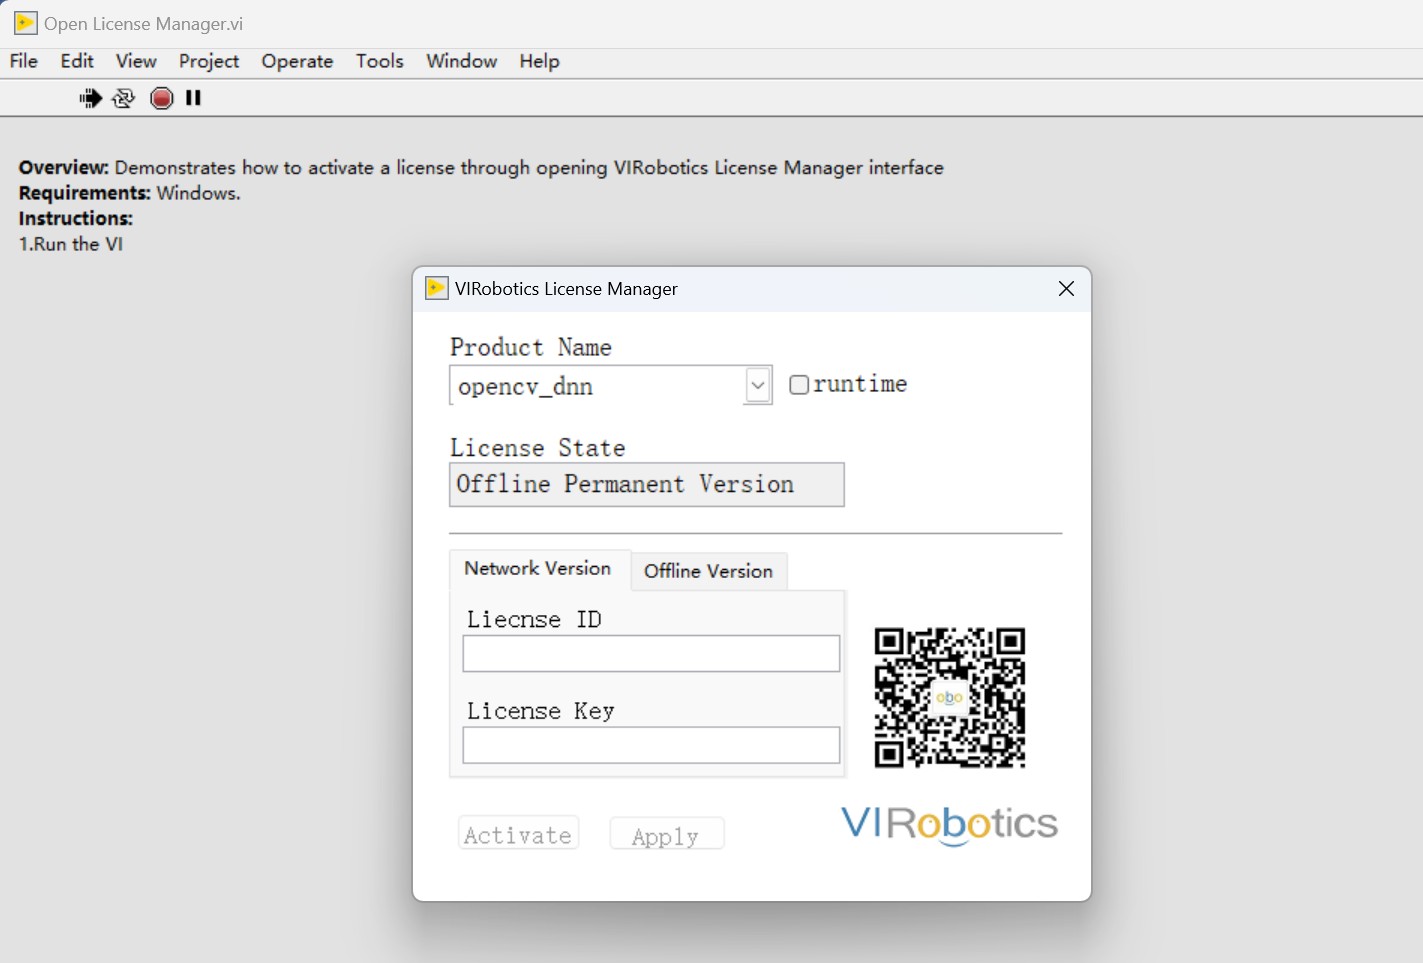
Open
Open License Manager.exeSettings:
Product Name:
openvinoCheck
runtimeInput License ID with License Key
Click
ActivateAfter successful activation, the display status isOffline Permanent Version
Offline Activation Process
Open the activation tool, click
Offline VersionProvide
Computer IDGive technical supportGet
.licFileSelect corresponding Product Name, loading
.lic, clickActivate
Run the main application
Run the generated AI application to ensure proper functionality.
Deployment optimization recommendations
| Optimization Item | Recommendations |
|---|---|
| Model Path | Use controls to configure model paths to avoid hard coding |
| Output Settings | It is recommended to add image saving function for result verification |
| Logging | Log file output can be added to record running status and errors |
| Interface optimization | Use controls to hide, run progress bars, beautify windows and other ways to improve delivery quality |
Common Problems and Troubleshooting
1. LabVIEW:Resource not found. libcvdll.dll 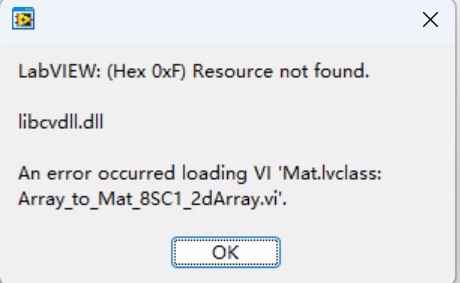
Solution: CheckEXEfolder'sdataDoes the directory containlibcvdll.dllIf not, it means that you did not load the dll during packaging and need to repackage it.
2. LabVIEW:Resource not found. lvopenvino.dll
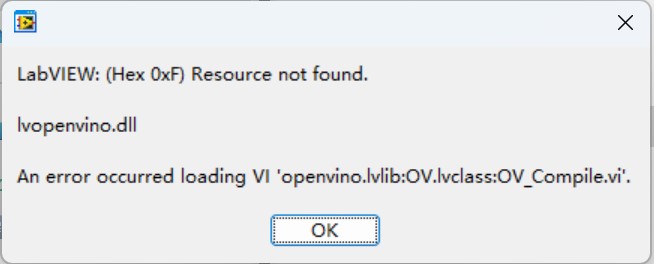
Solution: Check whetheropenvinoThe driver folder is copied to the deployment computer and the system environment variables have been successfully set.
3. The development side is normal but the deployment side reports an error.:
Solution: - Verify that all DLL files are loaded correctly. However, the running program still reports a dll error related to the toolkit, so please download and install the vc_runtime on the deployment computer. - When installing the VC runtime on the deployment computer:Click to download.
4. EXE Run-time prompt "Unauthorized":
Solution: Check whether the deployment side license is activated and whether the path is correct.
5. Image acquisition failed:
Solution: Check whether there is a camera and whether the driver is installed correctly
6. EXE starts flash back
Solution: missing dependency library or path error, Installer packaging method is recommended
Technical Support
If you encounter problems during deployment, please refer:
Technical Support Email:support@virobotics.net
Official website:https://www.virobotics.net